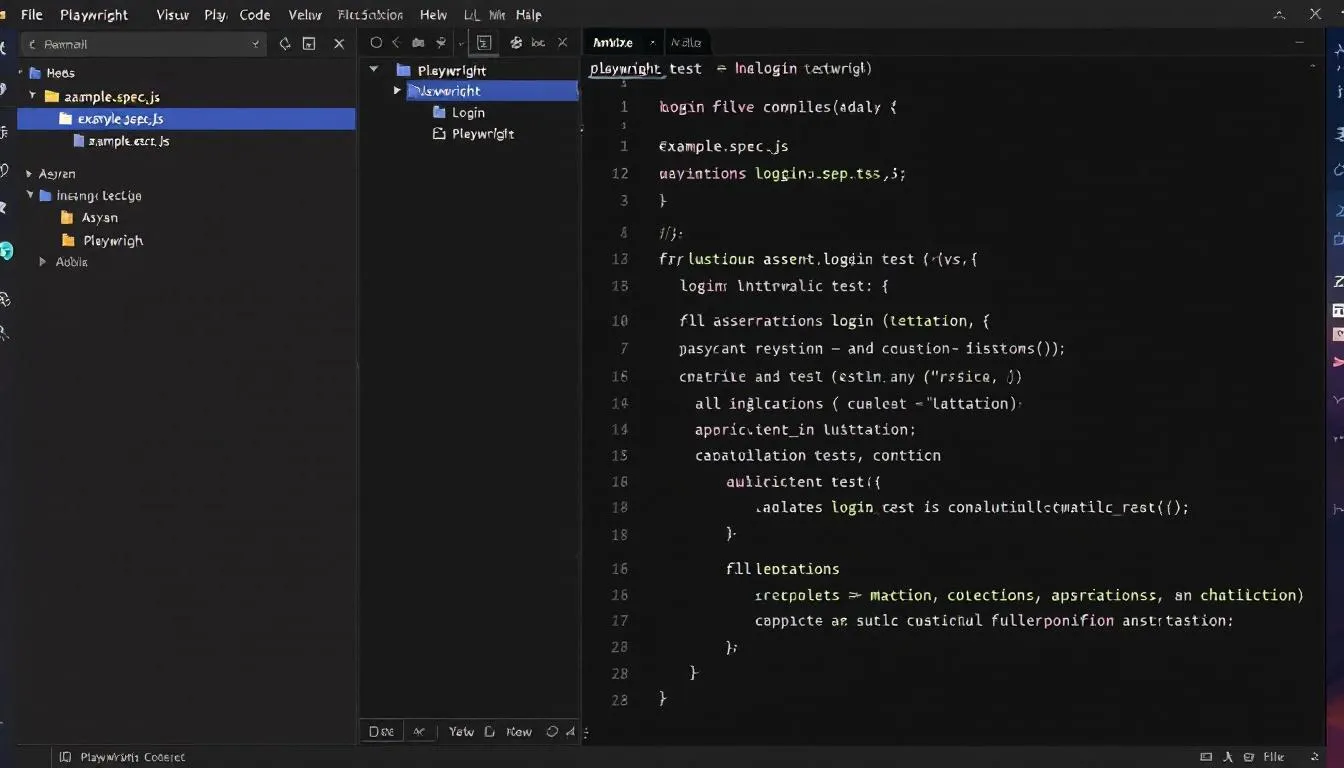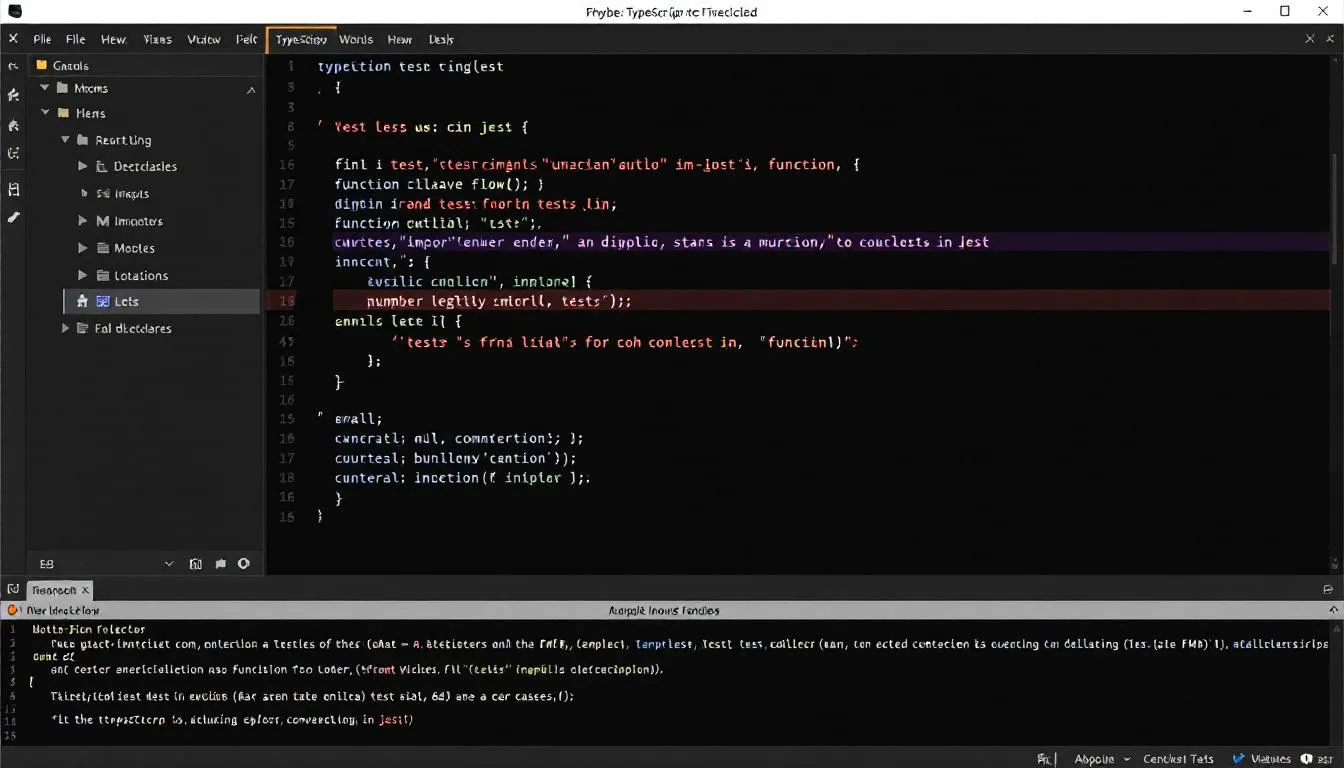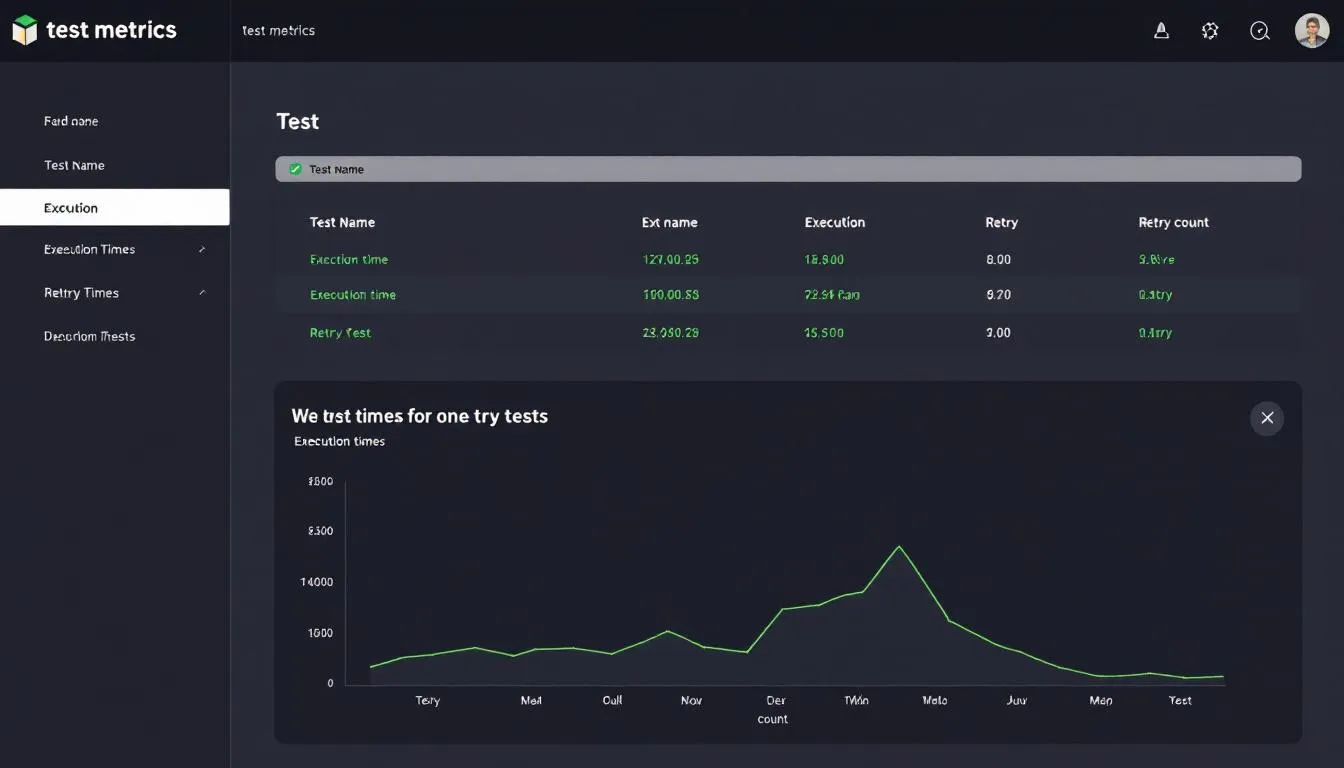
Modern web applications evolve quickly, and testing frameworks need to keep up without compromising quality. Traditional automation tools often struggle with dynamic content, complex user interactions, and cross-browser issues. Playwright with TypeScript handles these challenges effectively, providing reliable, flexible, and developer-friendly test automation.
This blog shows how to set up Playwright testing with TypeScript for a scalable, maintainable automation framework with optimal cross-browser coverage and readiness for both quick tests and enterprise-scale execution.
Reasons to Choose Playwright Testing with TypeScript?
Selecting the right automation stack is crucial for building scalable, maintainable, and reliable test suites. The combination of Playwright and TypeScript offers a compelling blend of cross-browser coverage, developer productivity, and enterprise-ready features. Here’s why this pairing stands out.
Cross-Browser Support Without the Hassle
Playwright delivers native support for all major browser engines—Chromium, Firefox, and WebKit—communicating directly through their respective APIs rather than relying on WebDriver protocols.
- This high-level API approach eliminates common compatibility issues and speeds up execution.
- Browser binaries are automatically downloaded and managed, ensuring consistent environments regardless of local setups.
- With a single test suite, you can confidently validate functionality across Chrome, Edge, Firefox, and Safari without manual configuration.
TypeScript’s Advantages for Automation
Integrating TypeScript with Playwright enhances both developer experience and test reliability.
- Static typing catches errors—like incorrect method calls or missing properties—before tests even run.
- Intelligent autocomplete in IDEs improves speed and accuracy when writing tests.
- Refactoring safety makes it easier to restructure code as your test suite grows.
- Explicit type definitions improve maintainability and readability, especially for complex page objects or custom fixtures.
Proven Edge Over Other Frameworks
Compared to traditional tools, Playwright’s architecture offers clear technical advantages:
- Versus Selenium: No separate driver installations, fewer synchronization issues thanks to auto-waiting, and reduced flaky tests.
- Versus Cypress: True multi-browser support and the ability to run tests in multiple browser contexts simultaneously.
- Built-in debugging tools like the trace viewer and automatic screenshots make diagnosing failures far easier—especially in CI environments.
Built-In Features for Modern Web Testing
Playwright ships with everything you need for modern, full-stack test coverage:
- Visual regression testing through native screenshot capture and comparison.
- Mobile device emulation for responsive design testing without physical devices.
- API testing support, enabling combined UI and backend validation within the same framework.
- Parallel test execution to drastically reduce run times for large suites.
Enterprise-Ready Capabilities
For teams working in Agile and DevOps environments, Playwright + TypeScript integrates seamlessly into existing workflows:
- CI/CD integration with GitHub Actions, GitLab CI, Jenkins, and more.
- Detailed HTML reports with embedded screenshots, traces, and execution timelines.
- Scalable parallel execution across multiple cores or distributed environments.
- Built-in retry mechanisms to handle transient failures gracefully.
- A trace viewer that provides step-by-step insight into failed tests for faster resolution.
Short Note: Playwright ensures comprehensive browser coverage and modern testing capabilities, while TypeScript ensures type safety, cleaner code, and long-term maintainability. Together, they form a future-proof automation stack ready to handle the demands of modern web application testing.
How to Set Up Playwright with TypeScript
Prerequisites & Environment Setup
- Node.js – Install the latest LTS or stable version for compatibility.
- Package Manager – Use any supported manager: npm, Yarn, or pnpm.
- Operating System – Compatible with Windows, macOS, and Linux.
- IDE – Install Visual Studio Code and the official Playwright Test extension for better productivity.

- Browser Setup – Playwright automatically downloads Chromium, Firefox, and WebKit binaries—no manual installation needed.
Best Practice: Essential Files for a TypeScript Playwright Project
When setting up Playwright framework with TypeScript, include these files for better maintainability and code quality:
- tsconfig.json – Ensures proper TypeScript support.
- typedoc.json – Generates clean API documentation.
- eslint.config.json – Enforces consistent coding standards.
Step-by-Step Installation Guide
Method 1 – Using npm init playwright@latest (For New Projects)
- Open your terminal and run:
npm init playwright@latest
- Follow the interactive prompts to configure test directory, TypeScript support, and browsers.
- Playwright will automatically install required dependencies and browser binaries.
Method 2 – Adding Playwright to an Existing Project
- Navigate to your existing project directory.
- Install Playwright and its dependencies:
npm install -D @playwright/test
npx playwright install
- Configure Playwright in playwright.config.ts for TypeScript support.
Method 3 – VS Code Extension Installation & Setup
- Open Visual Studio Code and go to Extensions.
- Search for “Playwright Test for VS Code” and install it.
- This extension enables test discovery, execution, and debugging directly within the editor.
TypeScript Configuration Setup
1. Creating tsconfig.json with Optimal Settings
- In your project root, create a tsconfig.json file to define TypeScript compiler options.
- This file ensures Playwright tests run with consistent and predictable behavior.
2. Target ES2020 for Modern JavaScript Features
- Set the target option to ES2020 in tsconfig.json to leverage modern JavaScript capabilities like optional chaining, nullish coalescing, and async/await improvements.
3. Module Resolution and Path Mapping
- Use “moduleResolution”: “node” to ensure correct module imports.
- Configure “baseUrl” and “paths” for cleaner, alias-based imports in large test suites.
4. Strict Type Checking Configuration
- Enable “strict”: true for robust type safety.
- This helps catch potential runtime errors during compilation by enforcing strong type checking rules.

Include and Exclude Patterns
- Use “include”: [“tests/**/*.ts”] to specify test file locations.
- Use “exclude”: [“node_modules”] to prevent unnecessary compilation of dependencies.
💡 Example tsconfig.json for Playwright with TypeScript:
{
“compilerOptions”: {
“target”: “ES2020”,
“module”: “commonjs”,
“moduleResolution”: “node”,
“strict”: true,
“baseUrl”: “.”,
“paths”: {
“@utils/*”: [“utils/*”]
},
“outDir”: “dist”
},
“include”: [“tests/**/*.ts”],
“exclude”: [“node_modules”]
}
Playwright Configuration
1. playwright.config.ts Setup with TypeScript Support
- Create a playwright.config.ts file at the project root to define test settings.
- Ensure it uses TypeScript for type safety and autocompletion by importing types from @playwright/test.
- This central configuration file controls how Playwright runs your tests.
2. Test Directory Structure and File Naming
- Store all tests in a dedicated directory (e.g., tests/ or e2e/).
- Use consistent naming conventions like *.spec.ts or *.test.ts to ensure Playwright automatically detects them.
3. Browser Project Configuration
- Define multiple browser projects (Chromium, Firefox, WebKit) in the projects array for cross-browser testing.
- Example:
projects: [
{ name: ‘chromium’, use: { browserName: ‘chromium’ } },
{ name: ‘firefox’, use: { browserName: ‘firefox’ } },
{ name: ‘webkit’, use: { browserName: ‘webkit’ } }
]
4. Timeout Settings and Retry Logic
- Use timeout to set the maximum execution time for individual tests.
- Configure expect.timeout for assertion waits.
- Enable retries for flaky tests, ensuring they are re-executed before failing

5. Reporter Setup and Artifact Collection
- Configure reporter for test results output (e.g., HTML, JSON, or Allure).
- Enable artifact collection (screenshot, video, trace) in the use section for debugging failed runs.
Example playwright.config.ts for TypeScript Projects:
import { defineConfig } from ‘@playwright/test’;
export default defineConfig({
testDir: ‘./tests’,
timeout: 30 * 1000,
retries: 1,
reporter: [[‘html’], [‘json’, { outputFile: ‘results.json’ }]],
use: {
headless: true,
screenshot: ‘only-on-failure’,
video: ‘retain-on-failure’,
trace: ‘retain-on-failure’
},
projects: [
{ name: ‘chromium’, use: { browserName: ‘chromium’ } },
{ name: ‘firefox’, use: { browserName: ‘firefox’ } },
{ name: ‘webkit’, use: { browserName: ‘webkit’ } }
]
});
Conclusion
A well-configured Playwright framework with TypeScript setup lays the foundation for a stable, maintainable, and scalable test automation framework. By implementing the right configurations, type safety, and browser settings, you reduce flakiness, streamline debugging, and ensure the framework evolves smoothly as your application grows.
In the next blog, we will guide you through writing your first Playwright test.
Connect with a leading Playwright testing company to discover more insights.


